The mirror-making process involves selecting float glass, cleaning the surface, applying silver and copper coatings, adding protective paint, curing, cutting, and inspecting—turning plain glass into a durable, reflective mirror.

Ever stood in front of a mirror glass and wondered how that perfect reflection happens?
We all use mirrors—at home, in hotels, elevators, makeup stations. But behind that clean reflection is a fascinating process involving chemistry, precision, and just a touch of science magic.
Today, we’re peeling back the layers (literally) to see how mirrors are really made—from raw float glass to that flawless reflective surface. Whether you’re an architect, interior designer, or just curious about the process, this guide will change the way you see mirrors—pun intended.
Mirror Manufacturing: Step-by-Step Guide
Here’s a quick video for mirror manufacturing process:
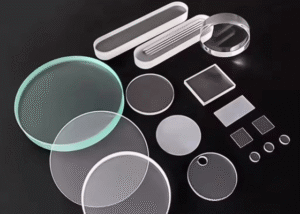
Step 1: Choosing the Right Float Glass
We see mirrors all the time — above sinks, inside elevators, across hotel lobbies — but rarely stop to wonder what they’re really made of. The truth? A mirror is more than just a shiny surface. Behind every clear reflection is a quiet hero: the glass itself.
Some glass is too green. Some ripples slightly. Some distorts shapes just enough to throw everything off. And once a mirror is made, there’s no hiding the flaws underneath. It all starts with choosing the right foundation.
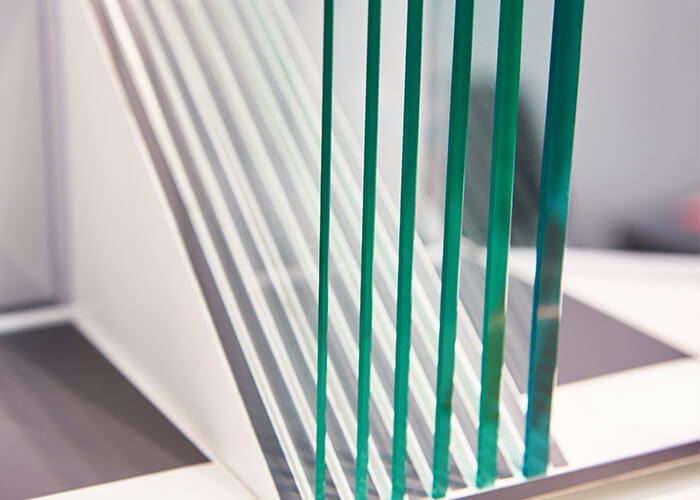
That’s why mirror makers use float glass — not just any glass, but glass formed by floating molten material over a bath of tin. The result? A sheet that’s perfectly flat, endlessly smooth, and ready to reflect the world as it is.
But even float glass has levels. For mirrors, the gold standard is low-iron float glass. It ditches that telltale green tint and gives you brightness, clarity, and color accuracy that standard panes just can’t match.
So, next time you look into a mirror and see yourself clearly, remember — what you’re really seeing is the quality of the glass beneath it.
Step 2: Cleaning and Surface Preparation
Before anything shiny gets added, the glass needs a deep clean — and we’re not talking about a quick wipe-down with a towel.
Even the tiniest speck of dust, oil, or water can ruin the reflection. Worse, it can cause the metal coating to bubble, peel, or flake off over time. So, mirror manufacturers treat this step like surgery.
The glass goes through a high-pressure washing system with deionized water. Brushes remove particles. Air knives blow away moisture. No fingerprints, no soap residue, no shortcuts.

Why does this matter so much? Because the reflective layer — usually silver or aluminum — has to bond directly with the glass. And that bond is only as strong as the surface is clean.
In short, if the glass isn’t spotless, the mirror won’t last. It might look fine at first, but give it a year — maybe less — and the silver will start to separate. This step doesn’t add sparkle. It adds strength.
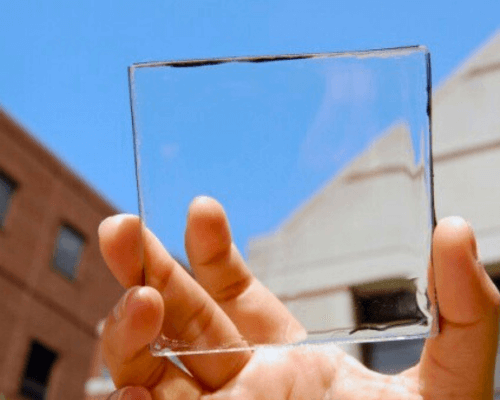
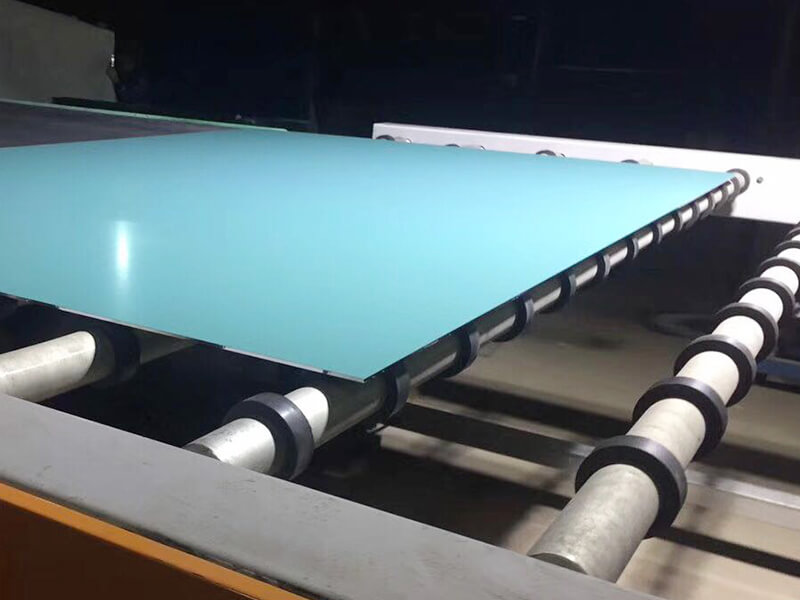
Step 3: Silvering – Applying the Reflective Coating
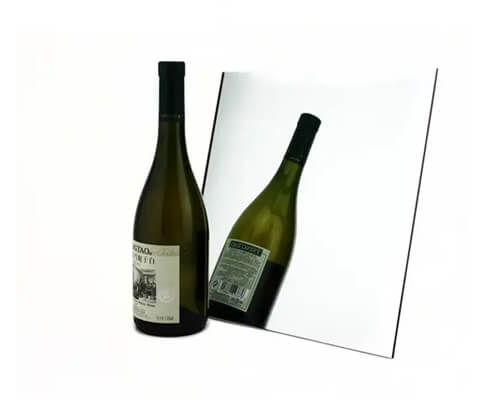
This is the moment the glass stops being just glass — and starts becoming a mirror.
Once the surface is perfectly clean, a thin layer of silver or aluminum is chemically deposited onto the back. Think of it like plating the glass with light itself. This is what creates the reflection.
Silver is the traditional choice — it gives mirrors their crisp, true-to-life finish. But aluminum is more affordable, and still works well for commercial-grade uses like gym walls or hotel decor.
The key? Evenness. If the silver layer is too thin, the reflection looks dull. Too thick, and it can flake or warp. Timing, temperature, and chemical ratios must be dialed in to perfection.
This isn’t just chemistry — it’s precision engineering. Done right, you get that sharp, brilliant image that makes a mirror feel alive. Done wrong, and the flaws show up every time someone looks into it.
Step 4: Copper Backing (Optional but Recommended)
Silver is beautiful — but also delicate. Left exposed, it tarnishes. Moisture, air, even cleaning sprays can eat away at the reflective layer over time.
That’s where copper comes in. A thin copper layer is applied over the silver to seal it in and act like armor. It slows corrosion and gives the mirror a longer, more reliable life — especially in places like bathrooms or humid climates.
Not all manufacturers use copper. Some skip it to cut costs. Others use aluminum, which doesn’t tarnish but also doesn’t reflect quite as clearly.
But if you want a mirror that lasts — really lasts — copper makes a big difference. It’s not just an extra step. It’s insurance.
Step 5: Protective Paint Coating
Now that the reflective layers are in place, they need serious protection. That’s where the paint comes in.
A special mirror backing paint is sprayed onto the coated side. This isn’t your everyday paint — it’s formulated to resist moisture, scratches, and peeling. In most cases, two coats are applied: one for bonding, one for extra strength.
Without it, even a gentle scratch can expose the silver underneath. And once air gets in? The mirror starts degrading fast.
Think of this step as sealing the deal. It locks in the reflection, defends the coating, and makes the mirror ready for the real world — steamy bathrooms, moving trucks, cleaning crews, you name it.
If silvering gives the mirror life, painting keeps it alive.
Step 6: Drying and Curing
Paint’s on — now it needs to set. And not just air-dry on a rack.
The freshly coated mirror enters a controlled curing process, where heat and time are carefully managed. This step ensures the paint bonds tightly to the metallic layers underneath, forming a durable shield.
Too fast, and the paint cracks. Too slow, and production stalls. It’s a fine balance that impacts the mirror’s long-term durability.
Once fully cured, the coating becomes hard, stable, and resistant to peeling or bubbling — even in high-humidity environments.
In mirror manufacturing, this step is often underestimated. But without proper curing, all that careful silvering and painting? It won’t hold.
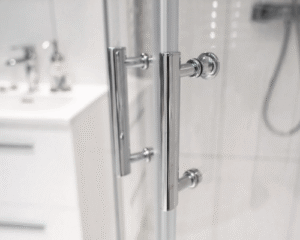
Step 7: Cutting and Edge Finishing
Now it’s time to shape the mirror to fit real-world needs — whether that’s a hotel bathroom, a retail fitting room, or a full-length panel in a dance studio.
Mirrors are scored and cut using precision tools. The edges can be left raw for hidden installations, but for most applications, they’re polished, beveled, or ground smooth.
Why does this matter? Two reasons: safety and aesthetics.
Sharp, unfinished edges chip easily and pose injury risks. Smooth edges not only look more refined, but also prevent cracks from spreading during handling or mounting.
Different edge finishes suit different projects.
Flat polish is modern and clean. Beveled edges add elegance. Safety edges are common in public or high-traffic spaces.
A good mirror doesn’t just reflect well.
It’s also crafted to handle daily life — safely and beautifully.
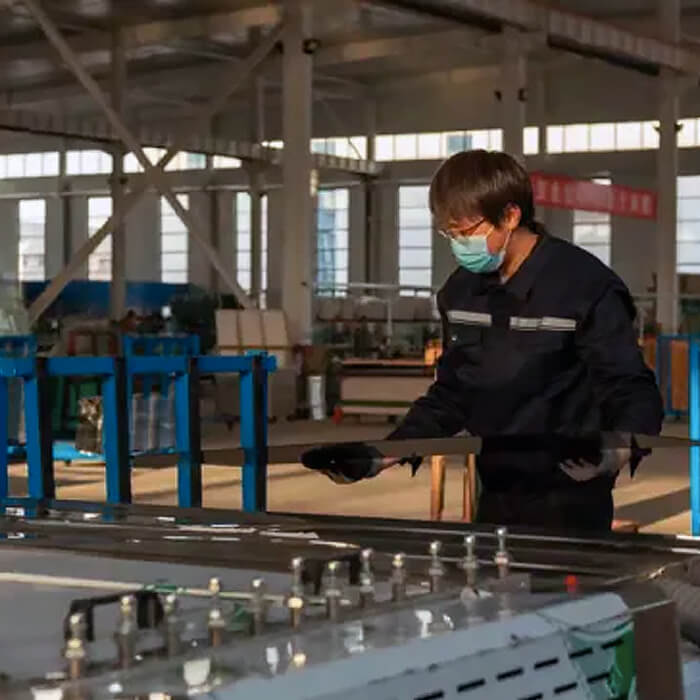
Step 8: Final Inspection and Packing
Before a mirror leaves the factory, it goes through one last checkpoint.
Each piece is inspected for surface flaws, silvering defects, edge chips, and coating uniformity. Even the tiniest scratch or air bubble can ruin the entire sheet — especially for high-end applications like decorative interiors or hotel rooms.
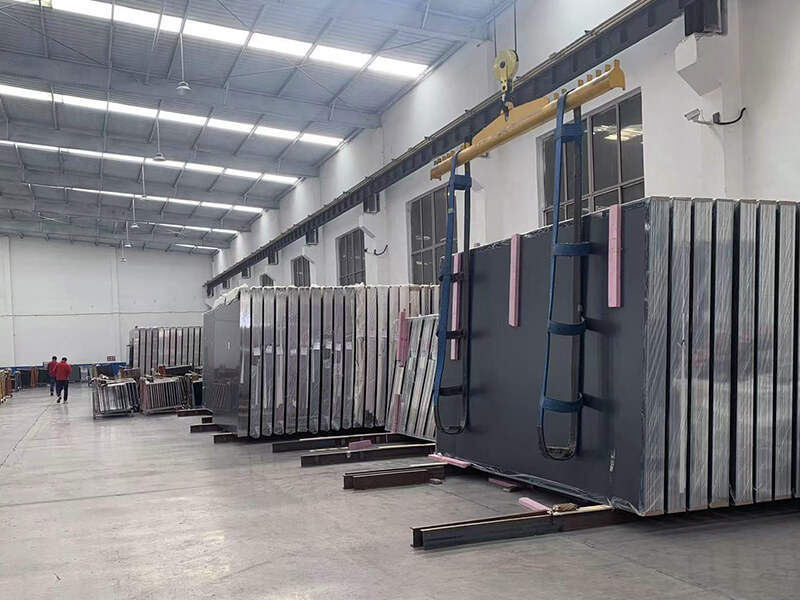
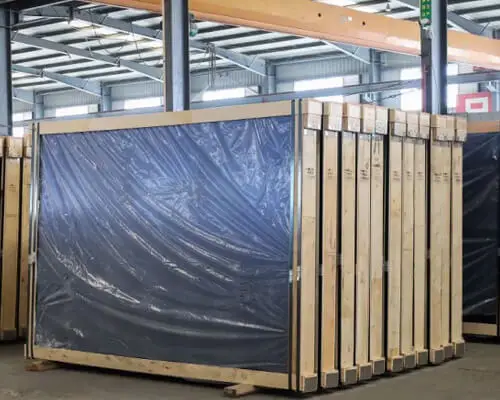
Once approved, the mirrors are packed with extreme care.
Protective film, foam, and corner guards are used to prevent scratches and cracks during transit. Bulk orders are crated or palletized based on client needs and shipping routes.
Why so much care?
Because one careless bump can undo hours of craftsmanship. And for clients, damaged mirrors mean delays, losses, and frustrated end users. Final inspection isn’t just a formality. It’s the last line of defense — and a sign of real quality control.
Mirror Types & Applications
Now that we’ve peeled back the curtain on how mirrors are made, let’s talk about what mirror type you actually need. Because the process might be similar, but the final product? That depends on where it’s going and what it’s supposed to do.
| Types | Properties | Applications |
| Silver Mirror Glass | Ultra clear High reflectivity | Bathrooms / Bedrooms Furniture / Decoration |
| Aluminium Mirror Glass | Good reflectivity Cost-effective | Furniture / Decoration |
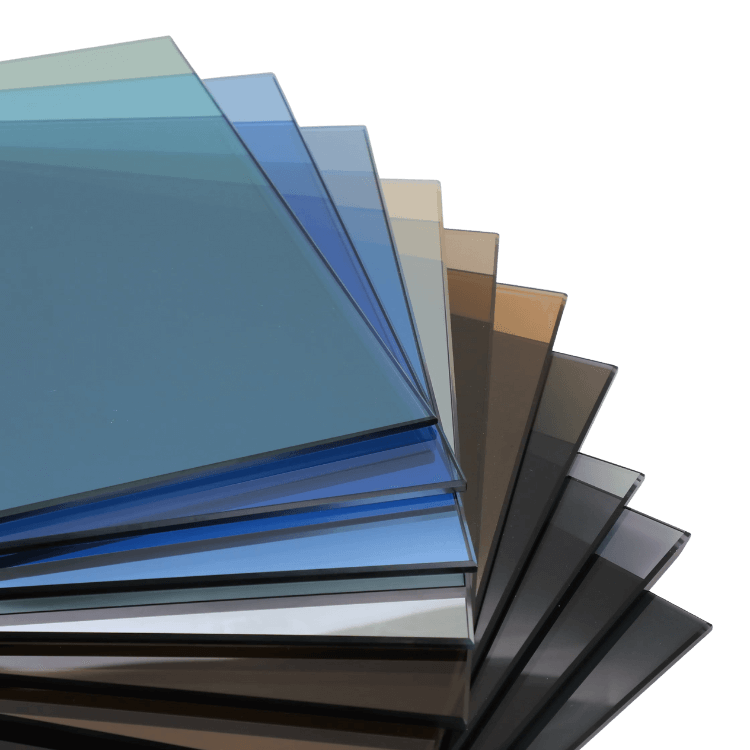
| Tinted Mirror Glass | Custom colors Glare control | Bathrooms / Bedrooms Furniture / Decoration |
| Safety Mirror Glass | Impact-safe Shatter-resistant | Gyms / Bathrooms / Public Areas |
| Decorative Mirror Glass | Stylish Customizable | Living Rooms / Hotels / Bathrooms |
| Other Mirror Glass | Specialized Security use | Vehicles / Public Spaces / Security |
FAQs
Here are some common questions about mirrors and how to choose the right one for your space.
What’s the difference between silver and aluminum mirrors?
Silver mirrors are clearer and more reflective — they give that crisp, true-to-life image. Aluminum mirrors are more budget-friendly, but they reflect slightly less light and can look a bit dull in comparison. For most interiors, silver wins.
Why do mirrors blacken at the edges over time?
That’s the backing paint failing, often due to moisture sneaking in. It eats away at the metal coating. Poor sealing, bathroom humidity, and harsh cleaners are the usual suspects. Go for mirrors with edge-sealing or moisture-resistant finishes to avoid this.
What thickness should I use for commercial mirrors?
5mm is the sweet spot for commercial spaces — strong, stable, and safe. Thinner mirrors (like 3mm) are fine for small frames, but too fragile for gyms, hotels, or retail walls.
Can I order large-format mirrors with custom cutouts?
Yes, absolutely. Whether you need notches for outlets or holes for fixtures, Hexad Glass can cut to your exact specs. Just make sure to confirm tolerances in advance.
Are there any anti-fog or moisture-resistant options?
Yes — and they’re a game-changer for bathrooms and spas. Some mirrors come with anti-fog films or heated pads. Others have moisture-resistant backing paint to protect against peeling and corrosion.
Conclusion
Mirrors aren’t magic — they’re science, precision, and smart choices. When you understand the process, you’re better equipped to pick mirrors that actually last.